
Can you imagine your home acting like it has its own brain? A Raspberry Pi lets you transform everyday gadgets into smart, connected tools. Setting it up feels a bit like getting your car ready for a long drive, each step brings you closer to a personalized, smoother living space. This little computer ignites creative projects that not only simplify your daily routines but also add a dash of fun, syncing everything from your lights to your sensors. In short, a Raspberry Pi for home automation lets you reimagine your space as an intuitive, efficient hub.
Raspberry Pi Home Automation Quickstart Guide
Step 1: Prepare Your SD Card
First up, grab the Raspberry Pi Imager and install it on your PC or Mac, you’ll need an SD card reader handy. Next, flash version 9.5 of the Home Assistant OS image onto a 32GB (or larger) SD card. Make sure the image loads correctly, setting the stage for a robust smart automation hub. Think of it like fueling your car before a road trip; you’re making sure everything’s ready for a smooth journey.
Step 2: Set Up Your Raspberry Pi
Now it’s time to bring your Raspberry Pi to life. Insert your freshly prepared SD card into your chosen hardware. If you’re into doing performance-heavy tasks, go for a Raspberry Pi 4 or 400. For simpler setups, a Raspberry Pi 3 or Zero works perfectly. Hook it up to your network via a wired Ethernet connection, plug it in, and let it power up. Give it around 20 minutes to initialize. While it’s warming up, you’ll be prompted to set a unique name, create a username and password, and adjust your server’s location to match your local sunrise and sunset times. It’s a bit like personalizing your smartphone, you’re tailoring settings to match your daily routine.
Step 3: Access the Dashboard
Once your Pi is fully booted, open up a browser and navigate to http://homeassistant.local:8123 to access the Home Assistant web interface. Log in to start exploring the intuitive dashboard, which brings all your smart devices like sensors and switches together. This is where you can begin to trigger automations and see your connected devices come to life, a central hub for your automated home, linking everything in a smart, cohesive way.
Essential Raspberry Pi Hardware for Home Automation
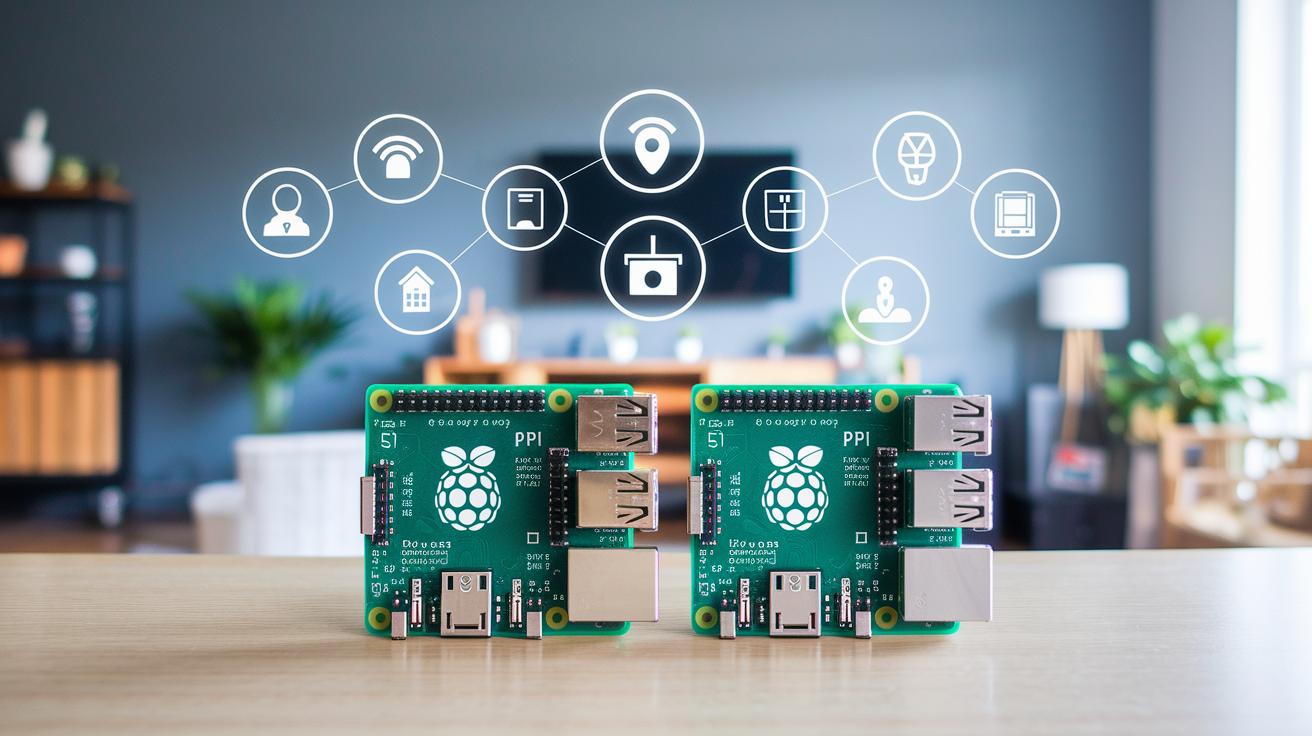
When setting up a smart home, the Pi 4 or 5 really stands out. With at least 2 GB of RAM and a quad-core CPU, which is just a fancy way of saying it’s quick and capable, this little computer can easily juggle multiple automation tasks. Think of it as your mini control center that effortlessly handles everything from managing smart lights to processing sensor data, all without a hint of lag.
If you’re only looking to handle a single task, like keeping an eye on a door sensor or a simple motion detector, then the Pi Zero is a cost-effective pick. It gives you the essential functionality without any unnecessary extras, a smart choice when you need to watch every bit of power.
Key optional peripherals include:
- DHT22 temperature/humidity sensors for real-time environmental data
- PIR motion detectors that kick off actions when movement is sensed
- I2C touchscreens to set up interactive control panels
- Relay modules for safely activating high-power devices
- Zigbee/Z-Wave USB sticks for easy integration with other smart gadgets
These add-ons are designed with efficiency in mind, using just about a 5 W power draw while offering plenty of GPIO pins to connect custom sensors. Picture this: a DHT22 sensor showing live temperature updates like "Temp: 23°C" on your dashboard, making your automation project not just functional, but alive and interactive.
Installing Home Assistant on Raspberry Pi
First off, grab the Home Assistant OS image for your Raspberry Pi from the official website and flash it onto a 32GB (or larger) SD card using the Raspberry Pi Imager. Fun fact: Before Home Assistant became the go-to for DIY automation, folks had to manually code routine tasks for each smart device, amazing how far we've come!
Next, pop the SD card into your Raspberry Pi, hook it up to Ethernet, and power it on. That wired connection isn’t just for show, it keeps things steady while your device spends about 20 minutes initializing its internal processes as a local server.
Once everything’s up and running, fire up your web browser and head to http://homeassistant.local:8123. Here, you'll set up your credentials and tweak regional settings. For smoother performance, it’s a good idea to assign a static IP and enable auto-start as a service. This approach locks in best practices, ensuring your Raspberry Pi keeps humming along without a hassle.
Automating Smart Devices with Raspberry Pi Hub
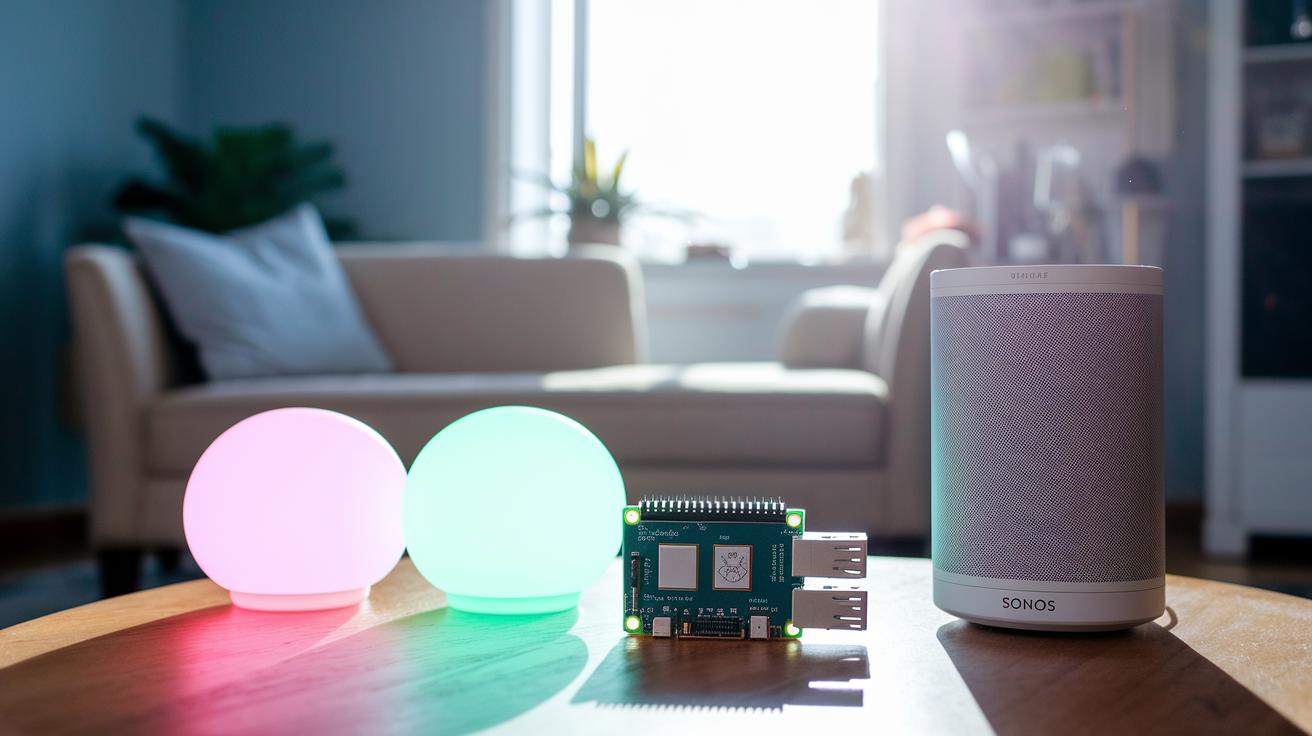
Kick off your smart home adventure by checking out Home Assistant’s pairing options. It automatically spots popular devices like Philips Hue, IKEA Trådfri, Sonos, Plex, IFTTT, and Samsung SmartThings so that as soon as your Raspberry Pi connects, your smart lights and speakers are ready to groove at your command.
The setup is pretty flexible. You get the convenience of automatic discovery, but if you like getting hands-on, you can manually add MQTT-based sensors or even hook up Zigbee or Z-Wave modules using USB sticks. Imagine setting a motion sensor to trigger elegant LED lighting: you configure an MQTT connection in Home Assistant and link it to actions like dimming the lights when there’s no movement or brightening them when you approach the door.
Within the Integrations panel, you can easily assign friendly names to smart outlets and relay modules, then designate them to specific zones in your home. This means setting up routines is a breeze, for instance, you might have your lights automatically switch on at dusk and turn off at a set time.
Key points include:
- Auto-discovery of popular devices speeds up the initial setup.
- Use MQTT communication for custom sensor integrations.
- Schedule lighting and outlet activities based on time or sensor input.
Just picture it: as evening falls, your living room lights adjust their hue to match the mood, effortlessly managed by your Raspberry Pi hub.
Voice Control Integration in Raspberry Pi Home Automation
Adding voice control to your Raspberry Pi smart home setup gives you a truly hands-free experience. You can easily link Alexa through Home Assistant Cloud or Nabu Casa so you can control devices like thermostats, cameras, and door locks. Ever try saying, "Alexa, adjust the thermostat to 72 degrees"? It quickly tweaks your environment to just the right setting. And if you're curious about more details on thermostat integration, the Smart Thermostat Review is a great place to start.
Mycroft is another cool option to consider. Simply install Mycroft Core on your Pi, just connect a USB microphone and speaker, and you're good to go. Once everything is set up, it's a breeze to tell it to manage your lights or sensors. Imagine saying, "Hey Mycroft, turn on the hallway lights," and watching your smart home react instantly.
For keeping your voice operations secure, always connect through HTTPS (a secure channel that protects your data) and ensure that only authorized device IDs can activate the skills. These steps help keep your smart home safe from unwanted voice commands. With a simple credential setup and a few network tweaks, you not only get more convenience but also a richer, more interactive home automation experience.
Securing Your Raspberry Pi Home Automation System
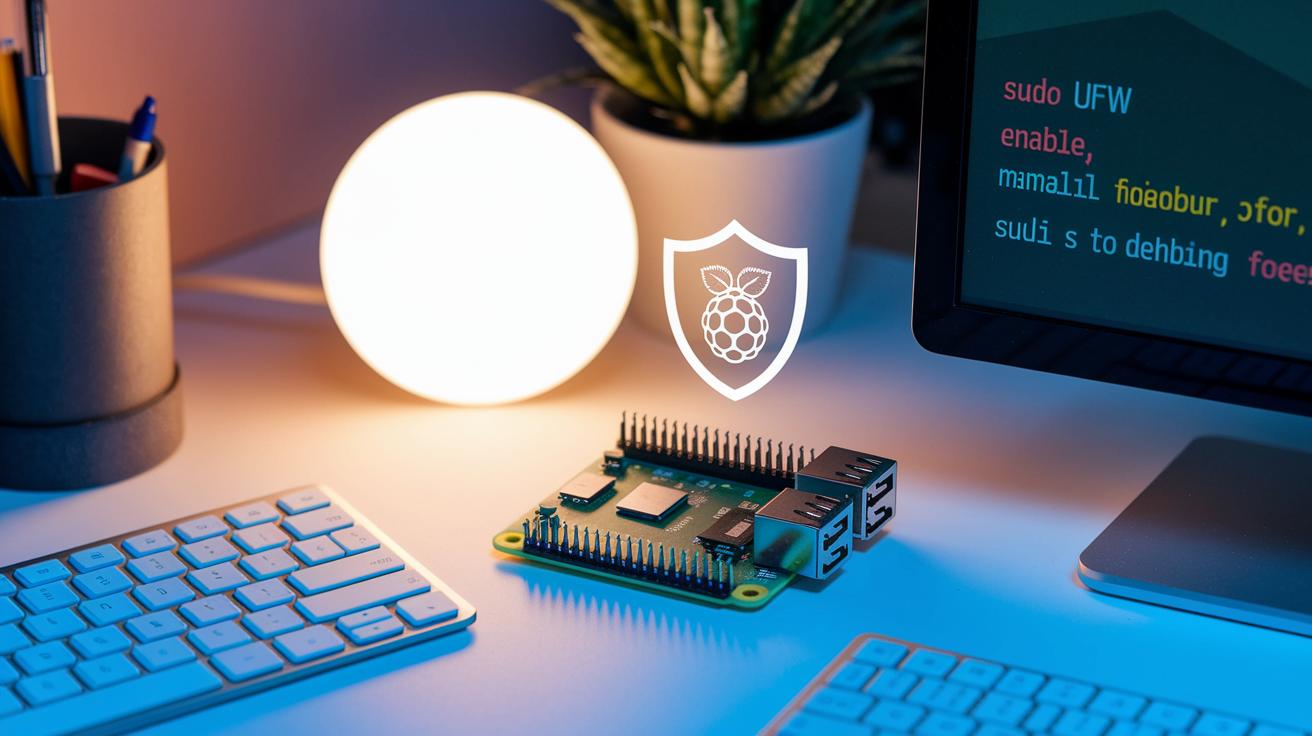
When it's time to lock down your Raspberry Pi, start by setting up a reliable firewall. Picture this: your firewall is like a set of sturdy locks on your house. Install and configure UFW on your Raspberry Pi OS to block any ports you’re not using. For instance, typing in "sudo ufw enable" gets you on track, ensuring only the proper connections pass through.
Next, give your Home Assistant web UI some extra love by switching on HTTPS. This means using Let’s Encrypt or a self-signed certificate to wrap your commands in an extra layer of security. Imagine having a private chat where every word is kept under wraps, it’s essentially that secure conversation between your devices.
And don’t forget about regular backups. Setting up scheduled SD-card snapshots and storing them somewhere safe, off-site, means you’re protected if something ever goes sideways. Plus, make updating your USB stick firmware and the Pi OS a monthly habit. Testing these updates on a staging setup first is like trying out a new recipe before serving it at a big dinner. It keeps your smart home system not only safe but also resilient.
Customizing Dashboards for Raspberry Pi Home Automation
Customize your Home Assistant dashboard with Lovelace UI in a way that really puts you in control. Instead of sticking with the auto layout, disable it and choose your own path using either YAML or the visual editor. This way, you can add custom cards that display sensor graphs, entity badges, and even live camera feeds, making your data come alive. Imagine having a temperature sensor card that instantly shows "Temperature: 23°C" on a sleek, personalized card; it's both informative and a delight to look at.
Build a dynamic, resizable grid layout with individual tabs for different rooms or zones. Picture assigning a unique space for your kitchen or living room, each with a custom icon that makes it immediately recognizable. It's like arranging your favorite photos on a digital frame, smooth and intuitive with every drag and drop.
You can also freshen up the look by adjusting themes. Import community theme files to give your dashboard a whole new vibe without much hassle. Disabling the default layout lets you create sections with clear, intuitive status indicators paired with striking visuals.
Key customization options include:
- Custom cards for sensor data and media streams
- Configurable layout grids and room-specific tabs
- Theme adjustments via imported community files
In short, your dashboard becomes more than just a tool, it turns into an engaging window into your smart home ecosystem.
Troubleshooting Raspberry Pi Home Automation Projects
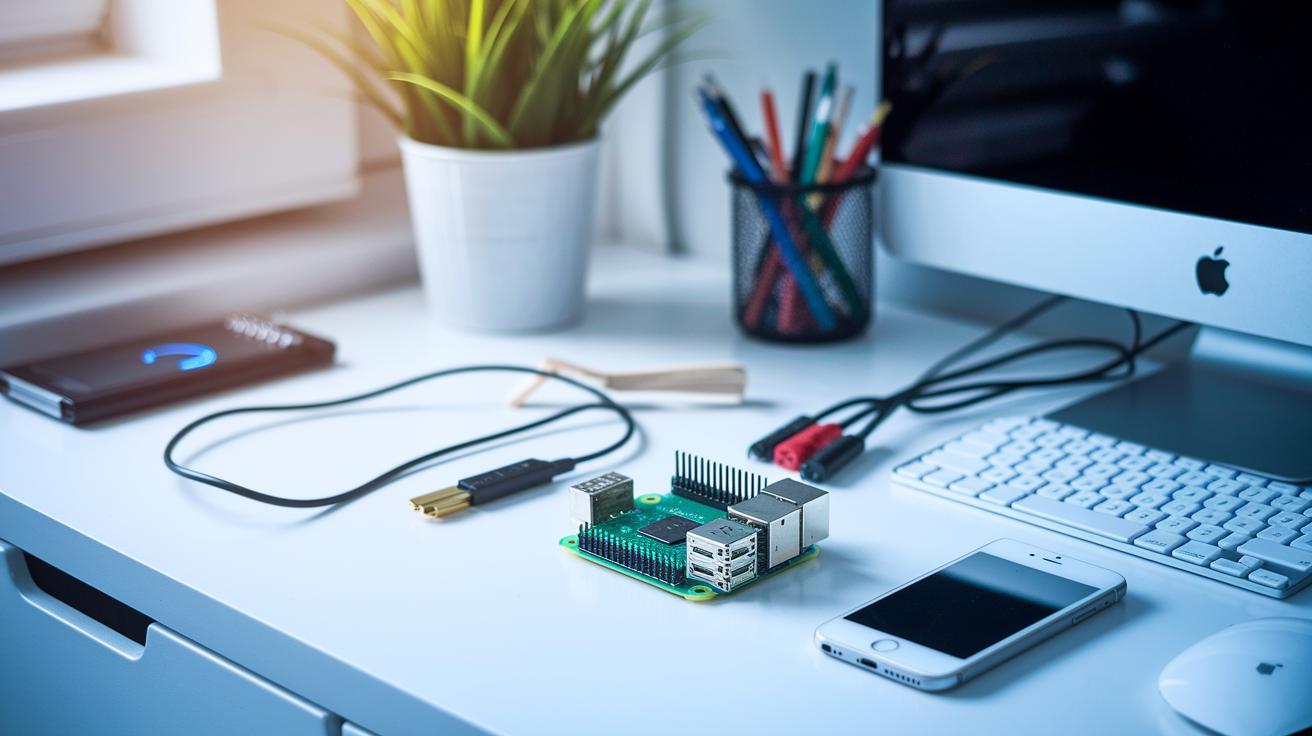
If your home automation hub starts acting up, the first step is to figure out what's going wrong. Often, a corrupted SD card image is the culprit. Try re-flashing your SD card with a fresh Home Assistant OS image, it usually clears up those odd behaviors.
Sometimes, misconfigured network settings can also throw a wrench in the works. Check that your Ethernet connection is solid and verify your static IP assignment. If your Raspberry Pi isn’t communicating as it should, take a closer look at your network setup, much like ensuring every ingredient is just right in your favorite recipe.
Don’t overlook simple YAML syntax errors in your automation scripts either. A tiny mistake, a stray space or a missing dash, can disrupt everything. Running your YAML code through a reliable online validator can help catch these slip-ups before they ruin your day.
It also helps to dive into your log files for clues. Spot-checking files like /var/log/syslog and home-assistant.log can reveal what’s going wrong under the hood. If you’re noticing a dip in performance, consider these steps:
- Increase the swap file.
- Disable any integrations you’re not using.
- Keep an eye on CPU and memory usage via the Dashboard.
And remember, tapping into forum-based support can be a goldmine of insights and troubleshooting tips from fellow DIYers who’ve been through similar issues.
Real-World Raspberry Pi Home Automation Project Ideas
Have you ever thought about how cool it would be if your home anticipated your needs? With a Raspberry Pi and some smart sensors, everyday tasks become effortlessly fun and efficient.
Take smart lighting, for example. Picture hallway lamps that light up automatically when they detect movement through a PIR sensor (a sensor that picks up motion). The result? A soft glow welcomes you right when you need it, creating a warm and inviting atmosphere.
Next, consider HVAC zoning. By using Pi-controlled relays together with temperature sensors, you can adjust the temperature in each room independently. It’s like fine-tuning your home’s climate just as effortlessly as adjusting the volume on your favorite playlist, each space feels perfectly comfortable.
Security also takes a step up with this tech. Imagine setting up cameras that snap a photo whenever something unusual happens. These images are then swiftly sent as notifications by Home Assistant, so you’re always in the loop, almost like having a friendly digital watchdog on duty.
For those with a green thumb, automated plant watering is a neat trick. A moisture sensor checks the soil’s wetness and signals a relay to activate a water pump only when needed. Your plants get the right amount of hydration, without you having to worry about over- or under-watering them.
Finally, think about a smart garage door opener. By combining an ultrasonic distance sensor with a smart outlet, and managing the system via secure HTTPS control, you can open and close your garage safely and conveniently, adding another layer of ease to your daily routine.
Final Words
In the action, we broke down getting started with your very own home automation setup using Raspberry Pi. We walked through preparing the SD card and initial configuration, selecting the best hardware, and even customizing dashboards for easy monitoring. Practical pairing with smart devices and voice control features kept things engaging, while troubleshooting tips ensure your system stays robust. Embrace the process and enjoy the simplicity of a home automation raspberry pi that makes everyday tech work smarter for you.
FAQ
What is the best Raspberry Pi model for home automation?
The best Raspberry Pi for home automation is typically the Pi 4 or Pi 400. These models offer a quad-core CPU, 2GB+ RAM, and reliable network connectivity, making them ideal for running Home Assistant and multiple smart devices.
How does Home Assistant perform on Raspberry Pi?
Home Assistant performs efficiently on Raspberry Pi, especially on Pi 4/400 models. Its dedicated OS image provides a responsive web interface and stable connectivity for managing various automation tasks and integrated smart systems.
Which home automation projects are popular with Raspberry Pi?
Popular Raspberry Pi projects include smart lighting, HVAC control, security alerts, and automated plant watering. These projects integrate sensors and relays with Home Assistant, offering a flexible and DIY approach to controlling household devices.
How can I install Home Assistant on my Raspberry Pi?
Installing Home Assistant on Raspberry Pi involves flashing the Home Assistant OS image onto an SD card using the Raspberry Pi Imager, then booting the Pi and accessing the web interface to complete initial setup and configuration.
Where can I find community-driven Raspberry Pi home automation projects on GitHub?
Raspberry Pi home automation projects and custom integrations are available on GitHub. These repositories offer scripts, YAML configurations, and dashboard setups that provide a ready-to-use resource for building your own smart home system.